Extended flat and sloped roof: how to solve it?
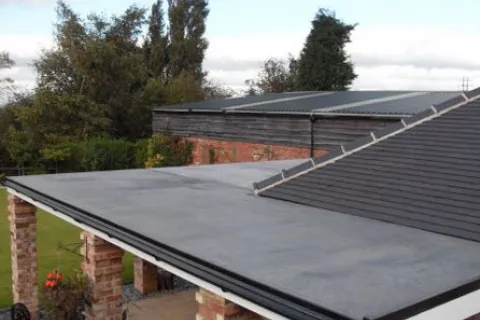
Do you have an extention at your house with a low roof slope that is connected to a standard roof slope? Or are you planning to add an extention of a winter garden, an open-air kitchen or a garage to your existing shingle roof? Let us show you how to install a low slope roof and extended flat roof that is connected to a shingle roof with a standard slope.
First some basic information:
Standard shingles can be used on roof slopes from 15° to 85°. If the slope of your extension is higher than 15°, you can install any type of shingle you prefer or use the one that is installed on your existing main roof. Take a look at our roofing tutorial, which shows the installation of any type of IKO shingles.
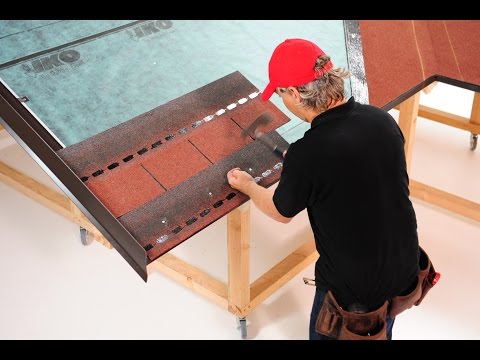
If the roof slope of the extension is between 9,5° and 15°, then Cambridge Xtreme 9,5° is what you are looking for. This aesthetic laminated shingle can be installed on slopes from 9,5° up to 90°. For such a low slope installation, the roof deck has to be made of OSB boards of at least 22 mm thick. On this roof deck IKO Armourbase Pro PLUS or Armourbase STICK underlayment needs to be installed. Then install the roof according to the general installation instructions for the Cambridge Xtreme 9,5° shingles. The change of roof pitch between the low and higher slope should be made with metal flashing.
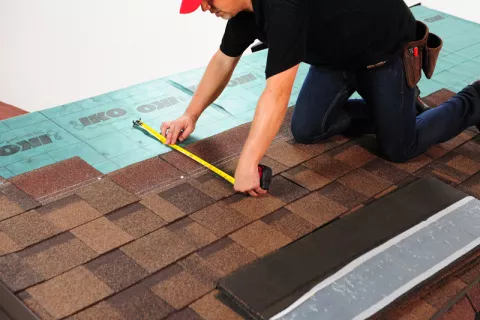
For attached roofs with a slope of less than 9.5° you have to use full torched asphalt rolls. You should also use asphalt rolls for extensions with a slope below 15°, on which you do not want to use Cambridge Xtreme 9.5° shingles. Asphalt rolls are being torched on each other, which ensures resistance to all weather extremes on low roof slopes.
How to create a low slope attached roof?
Install dry planks or OSB boards on the wooden frame. Keep in mind that on low roof slopes snow will hold longer, so it is advisable to use more massive material which will be able to hold the increased weight, eg. OSB boards of at least 22mm thickness.
When using planks, make sure they are not only dry, but they also don‘t twist after installation on the roof. Ensure the right slope and drainage of water in every part of the roof. Avoid situations where planks of different thicknesses form a depression in the roof that could hold water and cause leakage!
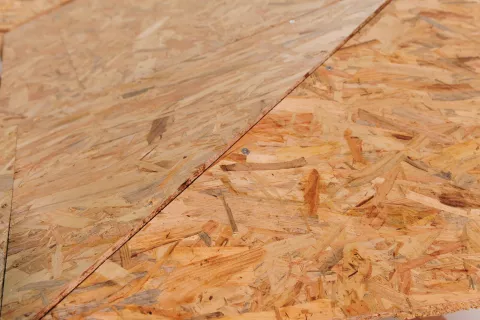
Underlayments for torch-on application
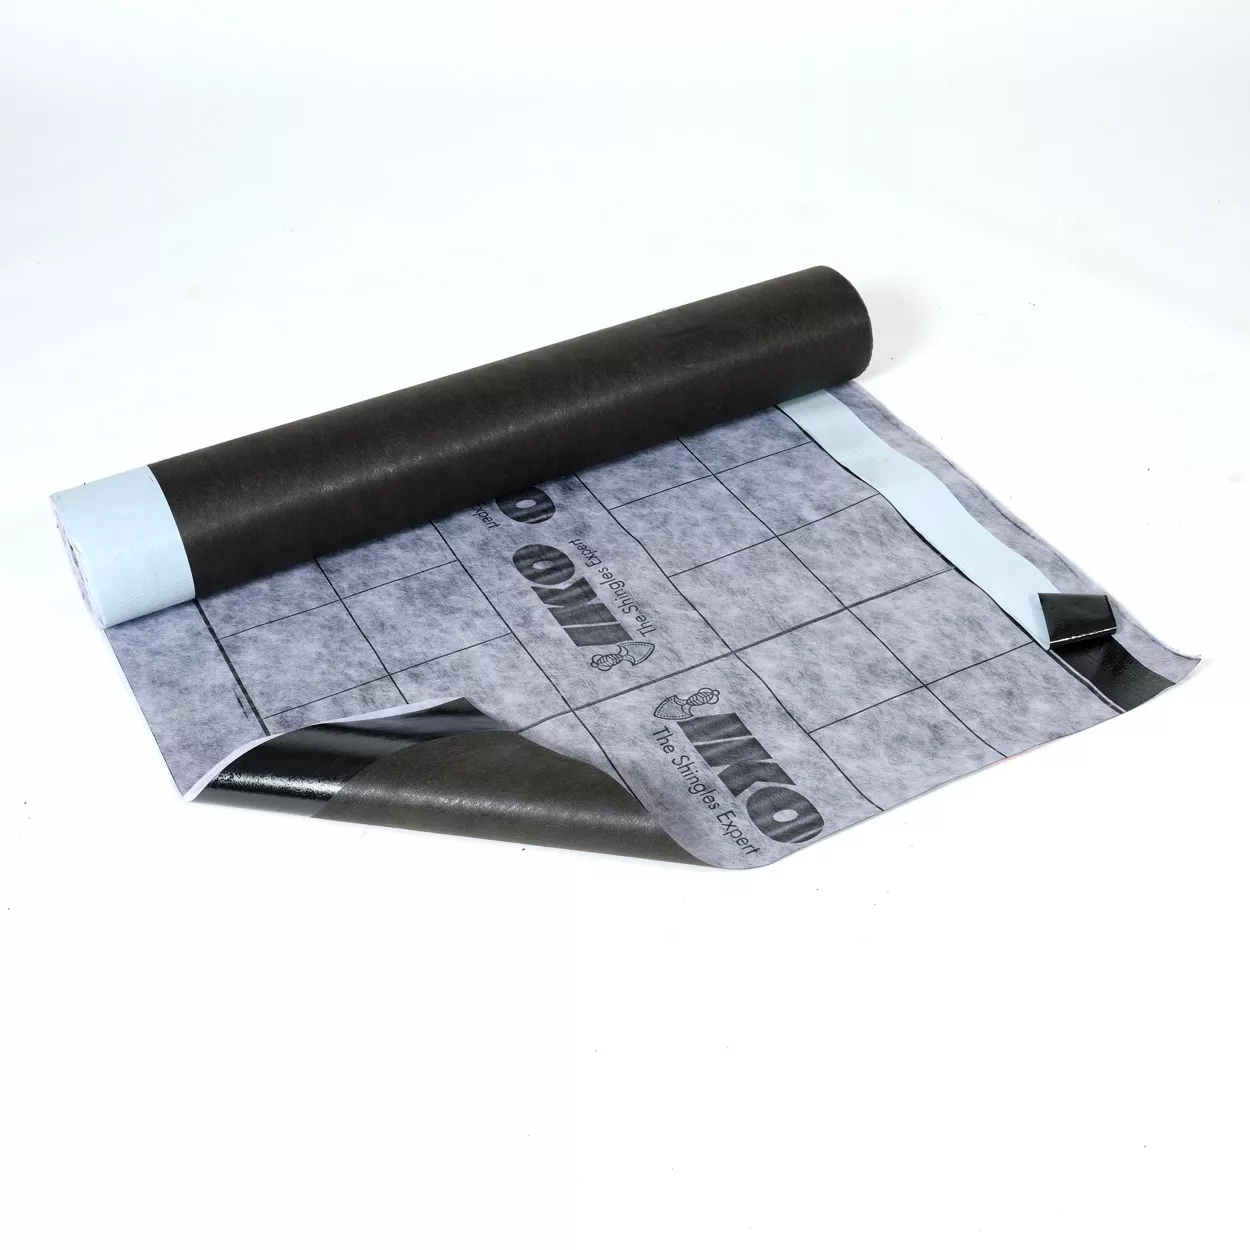
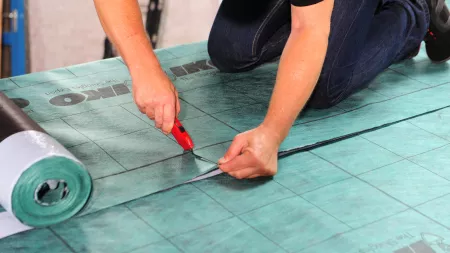
After installation of the roof deck, install the gutter hooks and cover the gutter edge with a metal flashing. Install horizontally by unrolling the IKO Base underlayment (= new name for IKO Armourfix) at the gutter edge and nail it with nails into the decking from 20 – 40cm to each direction. The next row of underlayment should be unrolled above the first row with at least 10 cm of overlap and again nailed every 20 – 40 cm. Continue until you reach 40 cm above the joint of the low and sloping roof.
Question: Is it necessary to use the IKO base or can any asphalt underlayment can be used?
IKO Base is an APP modified asphalt roll that serves as an underlayment under the upper asphalt roll IKO Armourvalley and is compatible with it. This means that it has the same attributes and "works" as IKO Armourvalley. If a different incompatible base roll is used as underlayment, the rolls may be detached from each other. Not using IKO base as underlayment might result in a malfunctioning roof, which might even lead to a reduction of the roofs water resistance.
Top asphalt roll
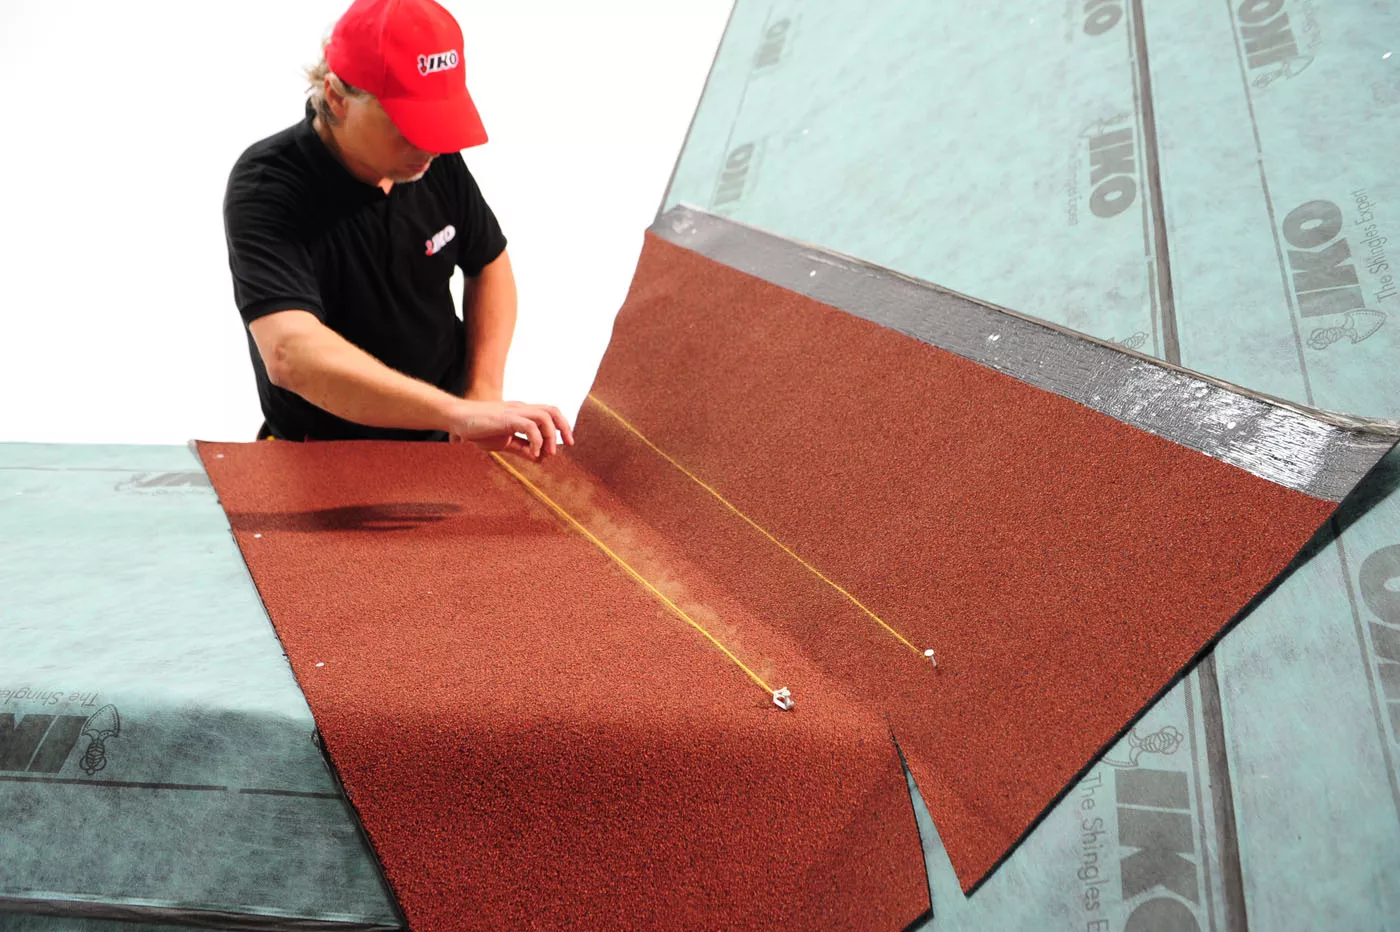
Use the IKO Armourvalley in the same color as your shingles installed on the main, sloped roof. Before torching the rolls, use side metal flashing to protect wooden constructions and the deck. Alternatively, use a different wood protection method to protect them from rain or snow.
Fully torch on the top roll on the underlayment IKO Base. Follow the instructions for standard asphalt torching. The joints of the upper roll must not line up with the joints of the underlayment. The layer overlays must be min. 10 cm. The top rolls must be torched all over the roof of the extension and must extend to the main roof with a steeper slope, up to approx. 40 cm above the slopes joint.The top row of the Armourvalley must be always covered or slide under the first row of shingles on the main roof.
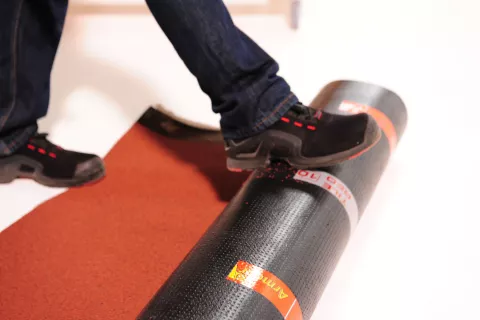
Question: Is it necessary to use IKO Armourvalley as the top roll or any asphalt roll can be used?
IKO Armourvalley is a high-end asphalt roll offering several benefits that most other rolls do not offer. The asphalt in IKO Armourvalley is APP modified. It means that it can resist both cruel winter conditions and high heat temperatures. In the summer, the roof temperature can be up to 100° C, and even at such a high temperature the asphalt does not tend to soften or run down. This feature is especially necessary for roof slope between 5°-15° or higher, where differently processed asphalt could flow as a result of higher slope. Another advantage of IKO Armourvalley is the wide color range that matches IKO shingle colors. On the roof of the extension you will have the same color as on all other parts of the roof.
Installation of shingles on the steeper slope of the roof
On a steeper slope of the roof we start with a starter strip at approx. 15 cm above the roof slope joint. Then proceed in a standard way to install shingles, as mentioned in the video above.
If you follow these recommandations, you should be able to connect the roof of your extension to your shingles roof in no time. Good luck!

