
Search
Search
1361 results were found.
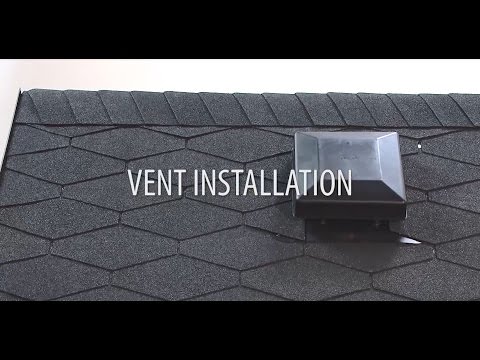
Application Film Armourvent Standard
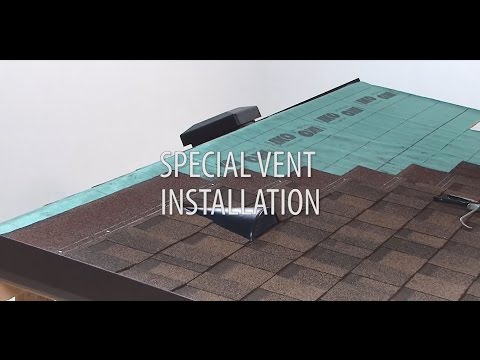
Application Film Armourvent Special
IKO ventilation on your roof offers quite some benefits:
- Extend the life of your roof and of your shingles
- Increase your living comfort
- Regulate the moisture in your roof
- Allow excess heat and water vapour to escape from the roof
- Allow air to circulate between insulation and roof deck
- Prevent humidity from damaging the roof construction
- Cool down the roof in hot weather conditions
- Prevents ice-dams after snow


Application instructions
It is essential to allow heat dissipation and water vapour to escape the roof system through proper ventilation. Therefore, air must be able to circulate freely between insulation and the nailable roof deck, from the eaves to the ridges.
On roof pitches 15°- 40° the minimum net free ventilation area is 33 cm²,
on 41°- 85° min. net free ventilation area is 16 cm² for each 1 m² of insulated ceiling area (P),
always divided evenly between the eaves and the ridge.
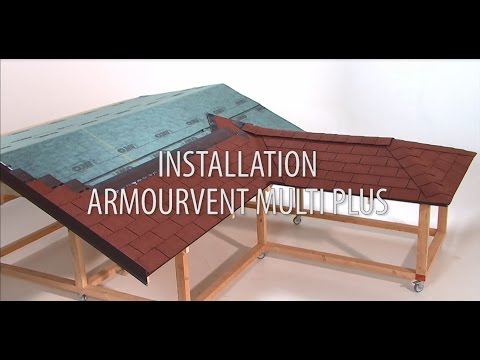
Fix the Armourvent Multi every 35 cm on both sides with long nails.
IKO ventilation on your roof offers quite some benefits:
- Extend the life of your roof and of your shingles
- Increase your living comfort
- Regulate the moisture in your roof
- Allow excess heat and water vapour to escape from the roof
- Allow air to circulate between insulation and roof deck
- Prevent humidity from damaging the roof construction
- Cool down the roof in hot weather conditions
- Prevents ice-dams after snow
Application instructions
It is essential to allow heat dissipation and water vapour to escape the roof system through proper ventilation. Therefore, air must be able to circulate freely between insulation and the nailable roof deck, from the eaves to the ridges.
On roof pitches 15°- 40° the minimum net free ventilation area is 33 cm²,
on 41°- 85° min. net free ventilation area is 16 cm² for each 1 m² of insulated ceiling area (P),
always divided evenly between the eaves and the ridge.

- Durable heavy duty steel construction
- Centrally mounted and welded steel ribbing plate with extra heavy-duty welds which make them over 30% stronger than regular fixed roof brackets
- Made from 3 millimeter steel and features a double-welded base plate fulcrum and reinforced ribbing that eliminates roof bracket flexing under excess load conditions
- Provides a built-in cord and hose management system that helps prevent accidental tripping or falling caused by entanglement in air hoses and electrical cords on roof decks
- Has a unique steel plate welded into the load bearing fulcrum of each bracket that dramatically improves the strength and durability of the bracket compared to conventional roof brackets
- Smooth edges and rounded corners will not cut hands or work area
- Finished with powder black exterior paint

MOUNTING AND DISMOUNTING OF ROOF BRACKETS
Place the brackets the way that maximum horizontal spacing between them is 1,25 m

Secure each bracket with three construction nails with a minimum size of 3.1 x 80 mm. All nails must be positioned in the top of the nail slots and to the rafter.

The brackets must be attached to a 45-degree roof so that the work platform is level. Do not use the work platform if it is not level.

To remove the brackets, push them upwards.
